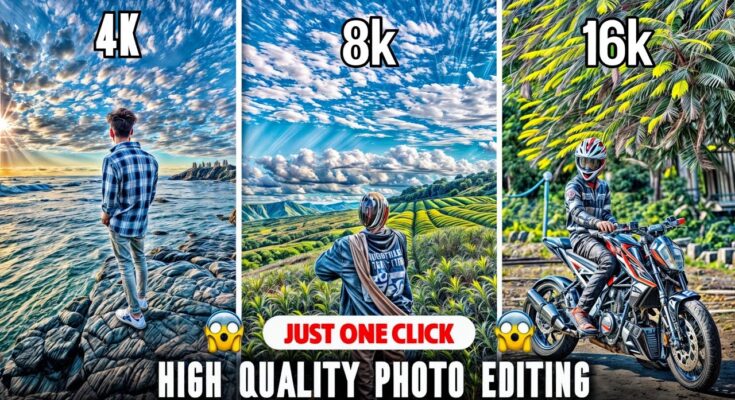
Mastering 16K Photo Editing with Krea.ai: A Comprehensive Tutorial
In the age of digital photography, capturing stunning visuals has never been easier. However, editing those images to perfection can often be a challenge, especially when working with high-resolution formats like 16K. Enter Krea.ai, a powerful tool designed to simplify and enhance your photo editing process. In this detailed tutorial, we’ll dive deep into the features of Krea.ai and guide you step-by-step through editing a 16K photo, ensuring you achieve breathtaking results.
Understanding 16K Resolution
Before we jump into the editing process, let’s clarify what 16K resolution entails. With a pixel count of approximately 15,360 x 8,736, 16K offers unparalleled detail and clarity, making it ideal for large prints and high-quality displays. However, editing such high-resolution images requires robust software capable of handling the substantial data without compromising quality. This is where Krea.ai shines.
Getting Started with Krea.ai
Step 1: Sign Up and Access the Platform
- Create an Account: Visit the Krea.ai website and sign up for an account. If you’re already a member, simply log in.
- Familiarize Yourself with the Interface: Take a moment to explore the user-friendly interface. Krea.ai is designed to be intuitive, so you’ll find it easy to navigate through its features.
Step 2: Uploading Your 16K Photo
- Upload Image: Click on the upload button. Navigate to your 16K photo on your device and select it. Krea.ai supports various file formats, ensuring compatibility with your images.
- Initial Load Time: Be patient as the high-resolution image loads. Depending on your internet speed and the size of the file, this may take a moment.
Step 3: Utilizing AI-Powered Enhancements
One of the standout features of Krea.ai is its AI capabilities, which enhance your editing process significantly.
AI Image Enhancement
- Auto-Enhance Feature: Start by clicking on the auto-enhance option. This tool analyzes your photo and applies adjustments to brightness, contrast, and saturation automatically.
- Fine-Tuning Adjustments: After the auto-enhance, you may want to manually tweak settings. Adjust brightness and contrast sliders to achieve your desired look.
Step 4: Advanced Editing Tools
Color Correction
- White Balance: Correct any color casts by adjusting the white balance. Use the temperature and tint sliders to balance warm and cool tones effectively.
- Saturation and Vibrance: Increase saturation to make colors pop, but be cautious to avoid overdoing it. Use vibrance to enhance muted colors without affecting the more vibrant hues.
Detail and Sharpness
- Sharpening: Enhance the details in your image by using the sharpening tool. Adjust the amount carefully, especially in high-resolution photos, to avoid introducing noise.
- Noise Reduction: If your image exhibits noise (especially in low-light areas), use the noise reduction feature to smoothen those areas while retaining essential details.
Step 5: Creative Effects and Filters
Krea.ai offers a variety of filters and creative effects that can transform your photo.
- Explore Filters: Browse through the collection of filters available. Each filter can dramatically alter the mood of your image.
- Custom Filters: For a unique touch, consider creating a custom filter. Adjust contrast, brightness, and color levels to develop a look that resonates with your personal style.
Step 6: Cropping and Framing
- Crop Tool: Use the cropping tool to focus on the most important elements of your image. Consider the rule of thirds for a balanced composition.
- Aspect Ratio: Choose the aspect ratio based on where you intend to use the image (social media, print, etc.). Krea.ai allows you to set specific dimensions.
Step 7: Adding Text and Overlay
- Text Tool: If you want to add captions or watermarks, select the text tool. Choose a font that complements your image style and adjust size, color, and placement.
- Overlay Options: Consider adding overlays or graphics to enhance your image further. These can be subtle textures or bold graphics, depending on your vision.
Step 8: Final Review and Adjustments
Before saving your masterpiece, conduct a final review
- Zoom In: Check the details at 100% zoom. Look for any imperfections that need correcting.
- Compare Versions: Use the comparison feature (if available) to toggle between the edited and original versions to assess your changes.
Step 9: Saving and Exporting Your Image
- Choose Format: When satisfied, choose the file format for saving. Krea.ai typically offers options like JPEG, PNG, and TIFF.
- Resolution Settings: Ensure you’re exporting at 16K resolution to maintain quality for high-end prints or displays.
- Download: Click the download button, and your edited image will be saved to your device.
Tips for Successful 16K Photo Editing
- Use High-Quality Source Images: Always start with the best quality images. A great edit can only enhance what is already good.
- Experiment with Features: Don’t be afraid to try out different tools and effects. Krea.ai is designed for experimentation.
- Regularly Save Your Work: While Krea.ai has autosave features, it’s wise to manually save your progress frequently.
- Stay Updated: Krea.ai regularly updates its features. Keep an eye out for new tools and enhancements that can aid your editing process.
CLICK HERE
Conclusion
Editing 16K photos with Krea.ai can elevate your photography to professional levels. With its AI-driven enhancements and intuitive interface, you can easily transform your images into stunning works of art. Whether you’re preparing photos for personal use, social media, or professional portfolios, mastering Krea.ai will give you the tools you need to make your visuals truly shine.
Additional Resources
- Tutorial Videos: Check out Krea.ai’s official YouTube channel for visual guides.
- User Community: Join online forums or social media groups to share your work and get feedback from fellow photographers.
With this comprehensive guide, you’re now equipped to take full advantage of Krea.ai and unlock your creative potential in 16K photo editing. Happy editing!


